
What to Plan for Smart Home Features Before Walls Are Closed
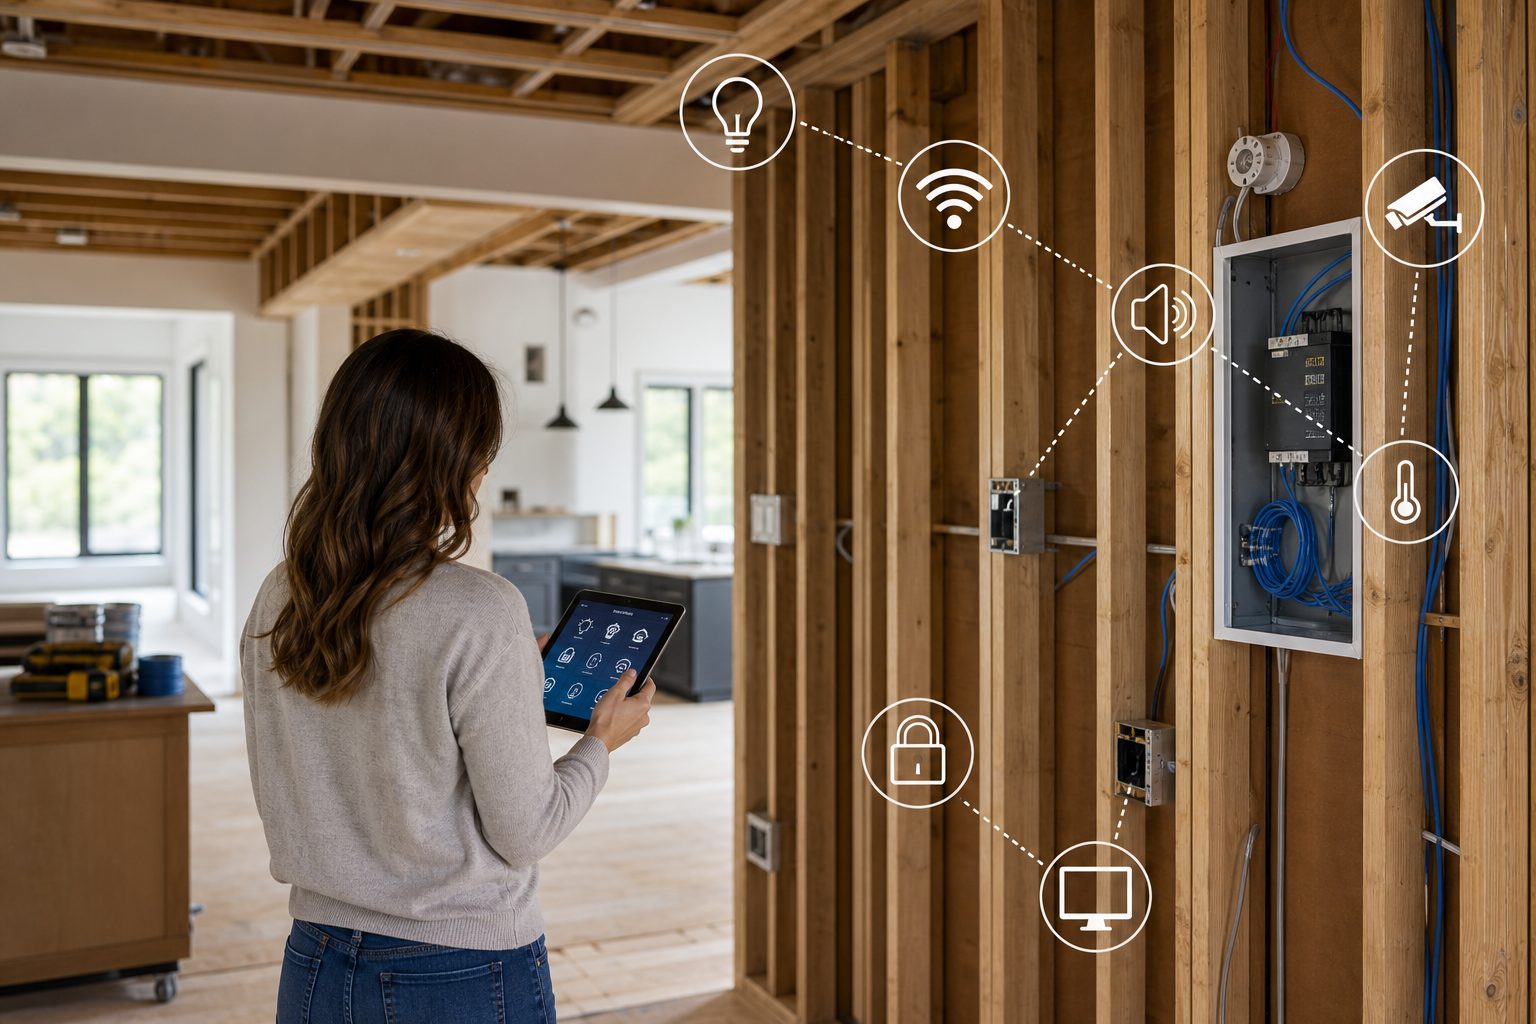
Smart Home Renovation Checklist for a Luxury Remodel
A luxury remodel is an ideal time to improve how your home supports lighting, entertainment, security, comfort, and connectivity. The key decisions should be made before insulation and drywall conceal the framing.
This smart home renovation checklist can help you identify the wiring, equipment locations, and infrastructure that deserve attention during pre-construction. You do not need to select every device immediately. You do need a coordinated plan that preserves your options and fits the overall renovation scope.
Why Smart Home Planning Cannot Wait Until the Finish Stage
Wireless devices are convenient, but they still depend on reliable power, network coverage, and compatible controls. Waiting until walls are finished can lead to visible cords, surface-mounted equipment, limited placement options, or added repair work.
Early planning allows the construction team, electrician, low-voltage contractor, HVAC contractor, cabinet supplier, and technology provider to coordinate their work. This is especially valuable in older Massachusetts homes, where existing wiring, framing, masonry, and electrical capacity may create constraints.
Sordan Construction emphasizes early coordination as part of a well-planned home interior remodeling project. Final specifications should always be reviewed by the appropriate licensed trades and checked against applicable requirements.
1. Start With How You Want the Home to Function
Before choosing products, list the experiences you want in each room. Consider:
- Lighting scenes for cooking, entertaining, reading, and nighttime navigation
- Reliable video calls and streaming throughout the home
- Whole-home or room-specific audio
- Automated shades in rooms with strong sun exposure or tall windows
- Temperature control by room or zone
- Video doorbells, cameras, alarms, and access control
- Leak sensors near kitchens, bathrooms, laundry rooms, and mechanical equipment
- Future accessibility features, including voice or simplified wall controls
Separate must-haves from future possibilities. This helps the project team prioritize infrastructure without requiring you to purchase every device during the remodel.
2. Plan the Network Before Selecting Smart Devices
The home network is the foundation of most connected features. Discuss the following before walls close:
- A central, ventilated location for networking equipment
- Hardwired data connections for televisions, offices, access points, and equipment racks
- Ceiling or wall locations for wireless access points
- Conduit or accessible pathways between key areas
- Internet service entry location
- Power and backup-power needs for critical network equipment
Large homes, additions, dense construction materials, and masonry can affect wireless coverage. A technology professional can assess the layout and recommend access-point locations before finishes limit the options.
3. Create a Lighting and Control Plan
Smart lighting should begin with the room layout and daily routines, not the switch model. Determine which fixtures belong together, where dimming is appropriate, and which rooms need multiple control locations.
Your plan may include:
- Layered ambient, task, and accent lighting
- Scene controls near primary entrances
- Bedside control of selected lights
- Motion or occupancy sensing in closets, halls, and utility spaces
- Exterior lighting schedules
- Under-cabinet and toe-kick lighting
- Neutral conductors and adequate box depth where required by selected controls
Confirm fixture and control compatibility before ordering. Decorative fixtures, LED drivers, dimmers, and automation controls do not always work together without careful specification.
4. Coordinate Motorized Shades and Window Treatments
Motorized shades can provide privacy, glare control, and convenience, but their power supplies and wiring can be difficult to conceal later. Decide which windows may receive powered treatments and identify where shade pockets, blocking, wiring, and control equipment will go.
Even if shades are a future upgrade, prewiring or adding an accessible pathway may preserve the option. Coordinate these details with window trim, built-ins, and ceiling conditions.
5. Map Security, Access, and Safety Devices
Walk the property plan and identify possible locations for:
- Exterior cameras
- Video doorbells
- Door and window contacts
- Alarm keypads
- Smart locks or access controls
- Driveway and entry monitoring
- Smoke and carbon monoxide devices
- Water-leak sensors and automatic shutoff equipment
Camera placement requires more than a nearby cable. Consider the field of view, mounting surface, lighting conditions, weather exposure, and future maintenance access. Safety and security equipment must also be coordinated with applicable codes and manufacturer requirements. Sordan Construction provides additional context on why Massachusetts codes and permit planning matter during renovation.
6. Plan Audio, Video, and Home Office Connections
For each television or display, determine the mounting height, power location, data connection, equipment location, and cable route. If components will be stored in cabinetry or a remote rack, plan for ventilation and service access.
For audio, identify speaker positions before ceiling fixtures, HVAC registers, and framing occupy the same space. Home offices may need hardwired data, additional outlets, equipment storage, and lighting suited to video calls.
7. Coordinate HVAC and Indoor Comfort Controls
Smart thermostats cannot correct an HVAC system that was not properly planned. Discuss zoning, thermostat locations, remote sensors, ventilation controls, humidity management, and equipment compatibility with the HVAC contractor.
Avoid placing sensors where direct sunlight, drafts, appliances, or fireplaces could distort readings. Bathrooms may also benefit from coordinated ventilation, heated-floor controls, and humidity sensing when those features are included in the renovation.
8. Document Everything Before Drywall
Before insulation and wallboard, confirm that the installed work matches the approved plan. Useful closeout documentation includes:
- Labeled cables at both ends
- Updated wiring and equipment schedules
- Photographs of every open wall and ceiling
- Measurements from fixed reference points
- Product information and configuration records
- A list of unused conduits or future wiring locations
Store digital copies with your other home records. Documentation can make future maintenance and upgrades far easier.
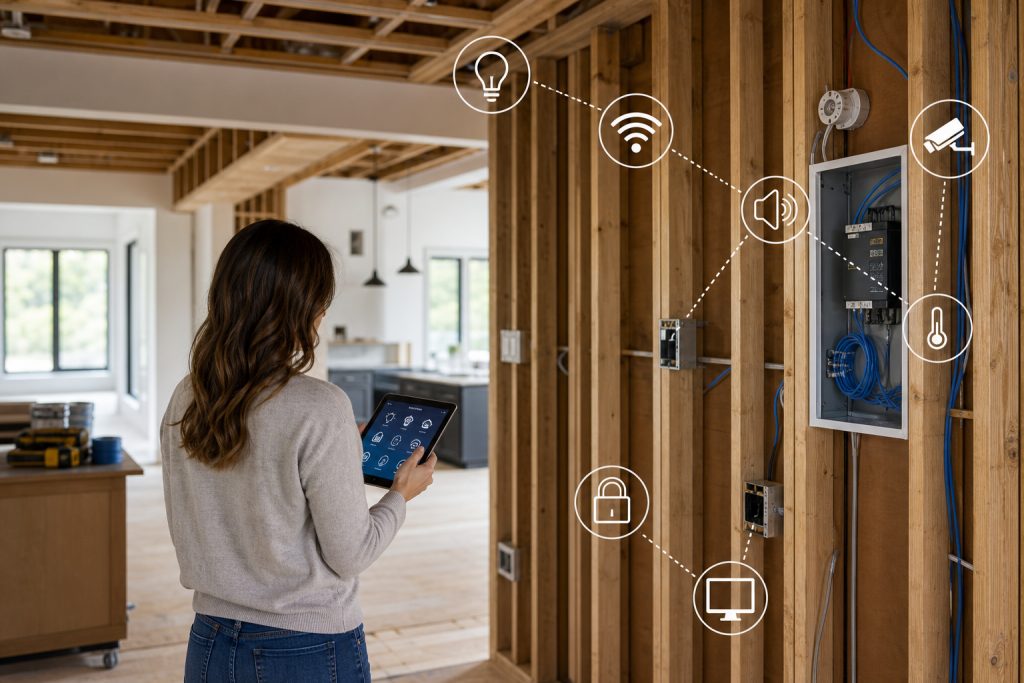
Final Pre-Drywall Smart Home Checklist
Before authorizing wall closure, verify that:
- Device, keypad, sensor, speaker, and access-point locations are approved
- Power, data, and low-voltage requirements are coordinated
- Equipment cabinets have ventilation and service access
- Wiring is labeled and photographed
- Blocking is installed for mounted equipment
- Exterior penetrations are properly planned
- Selected controls are compatible with fixtures and mechanical equipment
- Required inspections are complete
- Future pathways are identified and documented
Related Resources
Dust Control and Home Protection During a Major Remodel
Mudroom Materials That Stand Up to New England Weather
Coordinate Smart Features With the Entire Remodel
Smart home planning works best when it is integrated with architecture, cabinetry, lighting, electrical work, HVAC, and finish selections. A coordinated design-build process helps resolve conflicts on paper and in open framing rather than after completed surfaces must be disturbed.
Sordan Construction provides all-in-one residential remodeling services for kitchens, bathrooms, and complete interior renovations across Greater Boston and the Merrimack Valley. Schedule a consultation to discuss your remodeling goals, smart home priorities, scope, and next steps.
